2026-07-14 · 7 min read
Image Compressor and Resizer Workflow for Faster Web Pages
How to reduce image weight with compression, resizing, format choices, and simple before-and-after checks.
Search intent
For users searching for compress image, resize image online, reduce JPG size, or improve page speed.
Key takeaways
- Resize oversized images before compressing them.
- Use WebP or JPG for photos and PNG only when transparency or exact edges matter.
- Compare visual quality at realistic display sizes.
- Smaller images can improve UX, SEO, and conversion on slow networks.
Tool workflow
Check the real display size
Before touching quality settings, decide where the image will appear. A blog image, product thumbnail, hero image, and email image usually need different dimensions.
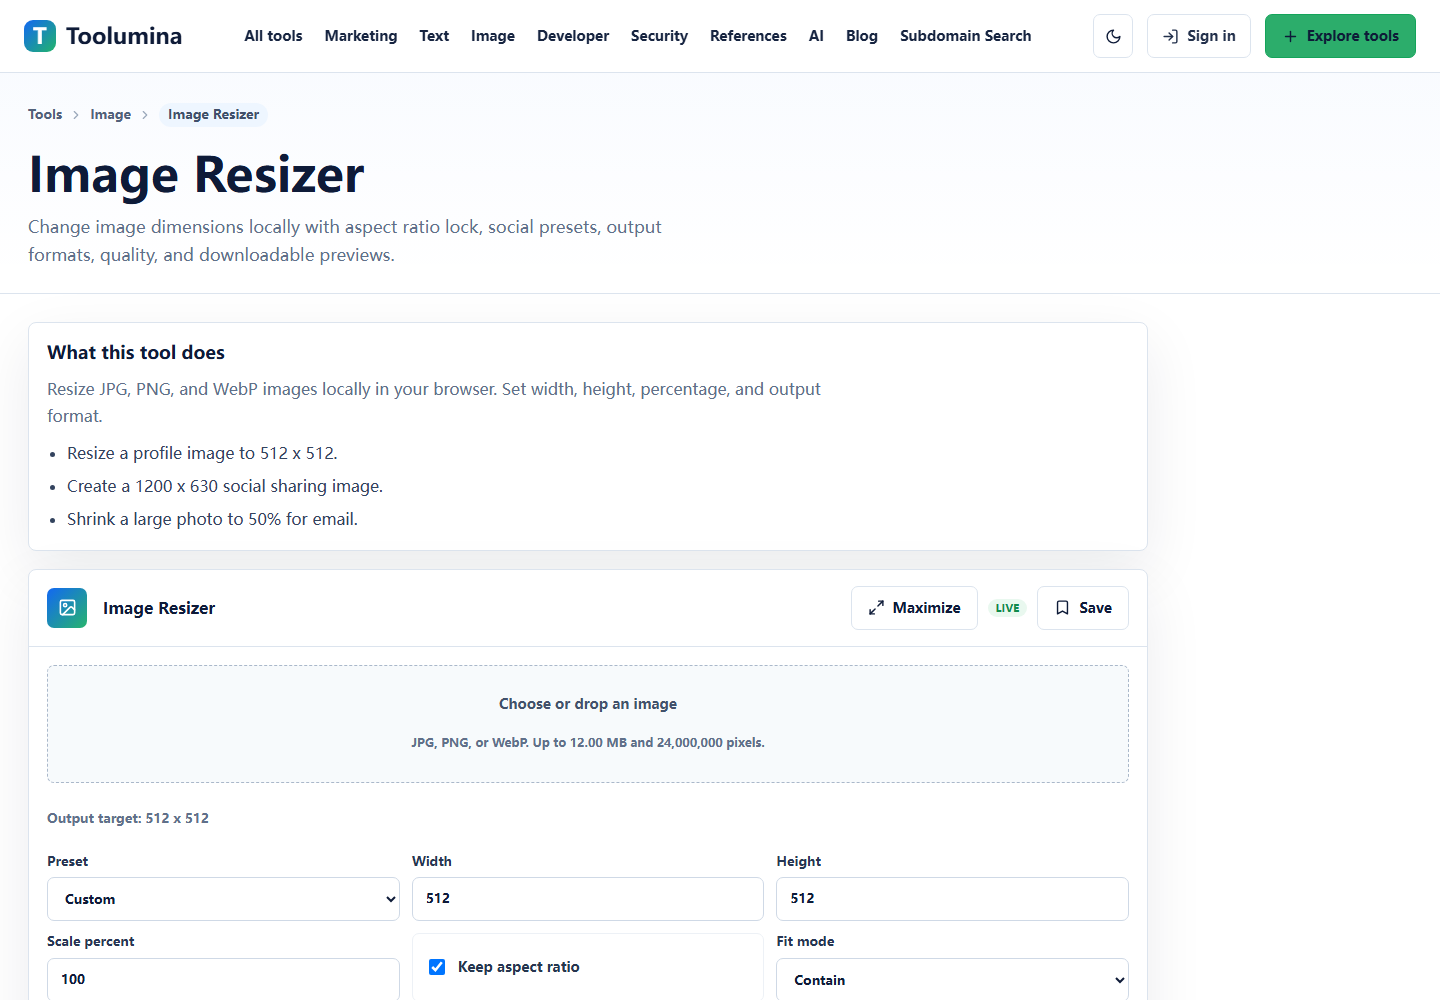
Image ResizerResize the pixels
Set the output width or a percentage scale. Keep aspect ratio on unless you intentionally need a fixed crop. Export the resized image before compression.
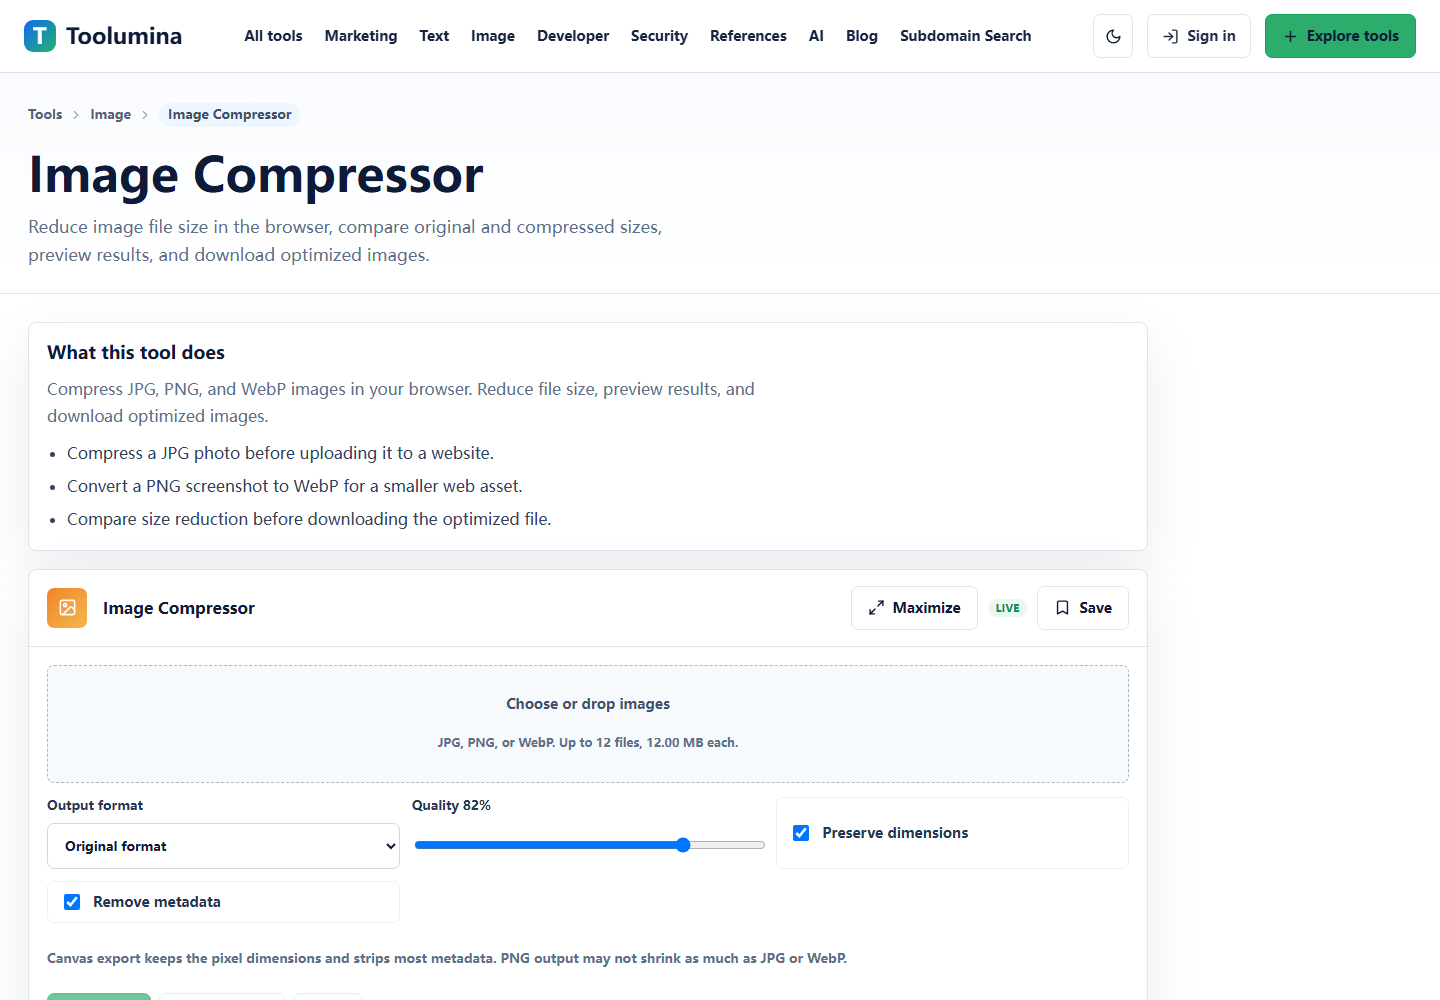
Image ResizerCompress and compare
Open the resized image in Image Compressor. Try WebP for web publishing, JPG for photos, and PNG only when exact edges or transparency matter.
Image CompressorScreenshots from the workflow
Resize first, then compress
The common mistake is taking a huge camera image and only lowering quality. If a 4000px-wide photo is displayed at 900px, the browser still has to download and decode far more pixels than the layout needs.
Resizing reduces pixel count. Compression reduces file weight. Used together, they usually produce a cleaner result than lowering quality on an oversized original.
- Hero image: export near the real display width.
- Blog image: avoid uploading camera-original dimensions.
- Thumbnail: resize aggressively before compression.
Choose the output format by image type
Photos usually compress well as JPG or WebP. Screenshots and interface images often need a higher quality setting because text and thin lines reveal artifacts quickly. Transparent graphics may need PNG or WebP.
The best output is not always the smallest file. It is the smallest file that still looks acceptable in the exact context where users see it.
- Photos: JPG or WebP.
- Transparent graphics: PNG or WebP.
- Screenshots with text: test carefully at actual display size.
A practical optimization checklist
Before publishing, check the original size, final dimensions, output format, compressed size, and visual quality. This gives you a repeatable image workflow instead of random trial and error.
For SEO, faster image loading can help users stay on the page and can support better technical performance signals.
- Resize to the real layout size.
- Compress and compare before/after file size.
- Preview text and edges, not only the file size number.
- Use descriptive filenames and alt text when publishing.
Background notes
Resizing and compression are not the same
Resizing changes the number of pixels in the image. Compression changes how much data is used to store those pixels. If an image is physically too large, compression alone cannot fully solve the problem.
A good workflow is dimension first, format second, quality third. That order avoids wasting time tuning quality on an image that is still too large for the layout.
What to check before publishing
Preview the image where it will actually appear. Text, product edges, faces, and transparent backgrounds are the areas where bad compression usually shows first.
Also check the final file name and alt text. Image optimization is not only file size; it is also making the asset understandable and maintainable.
- Confirm the rendered width in the page or template.
- Use descriptive filenames before uploading.
- Keep alt text practical and specific.
- Avoid recompressing the same JPG over and over.