2026-08-05 · 10 min read
When an iPhone Photo Breaks the Upload Form: A Practical HEIC Fix Checklist
A plain, useful workflow for when an iPhone image will not upload cleanly and you need to convert, crop, resize, or compress it without making the result look terrible.
Search intent
For people dealing with failed image uploads, oversized iPhone photos, or forms that seem to accept images until a HEIC file shows up.
Key takeaways
- Format problems and size problems are not the same thing, so fix them in the right order.
- Convert HEIC once, then decide whether you actually need cropping, resizing, or compression.
- Dimensions matter just as much as file size for many upload flows.
- Keep the original photo and make a separate upload copy.
Tool workflow
Convert the iPhone photo into a safer upload format
If the site or app is picky, start by converting HEIC into JPG or PNG so you are no longer fighting format support.
HEIC to JPG / PNGFix the shape before you chase file size
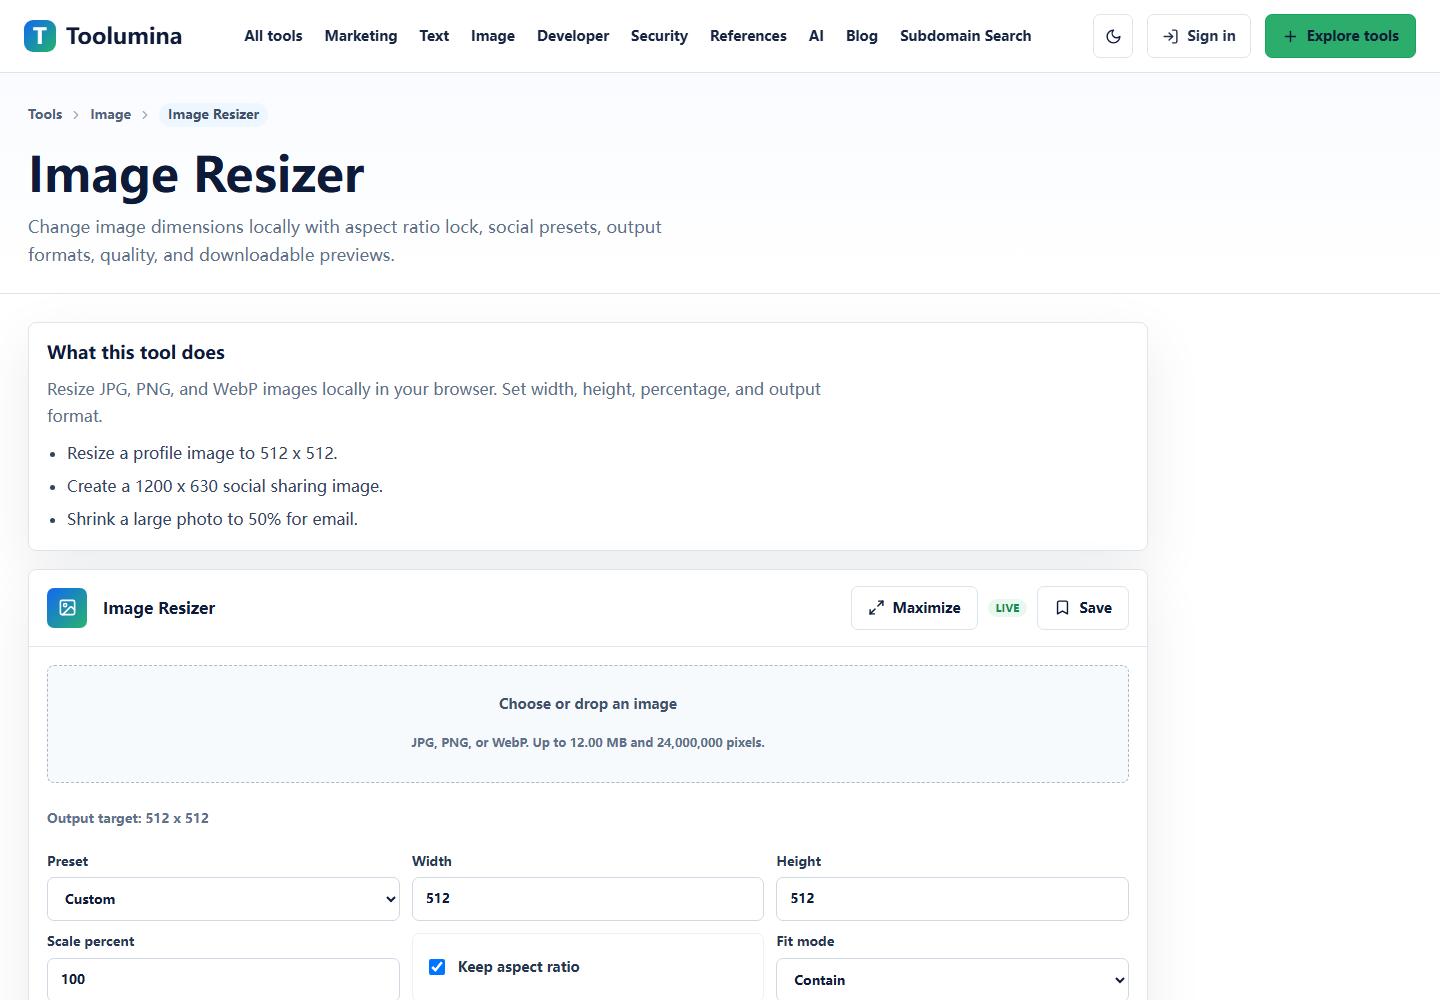
Crop dead space and resize huge dimensions before compressing. A 4032-pixel-wide photo is often overkill even when the file size looks acceptable.
Image ResizerCompress only the upload copy
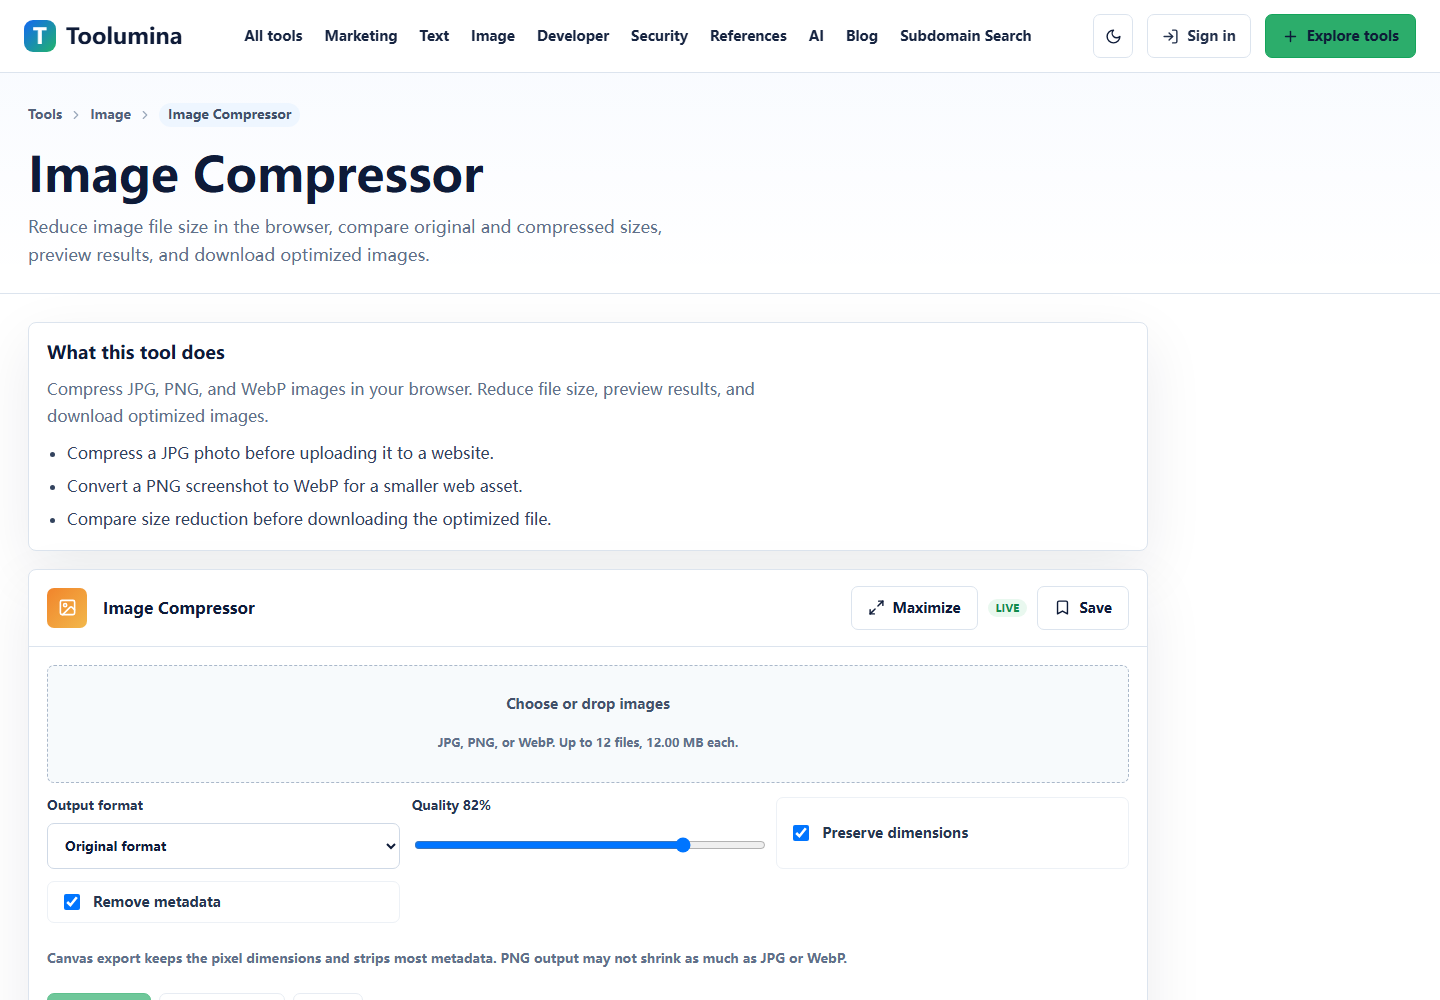
Once the format and dimensions are right, compress the image enough to pass the upload without turning text, receipts, or faces into mush.
Image CompressorScreenshots from the workflow
HEIC fails in very ordinary places
If you use an iPhone, this problem shows up in surprisingly boring situations. A job portal rejects an ID photo. A customer support form spins forever on an attachment. A vendor dashboard accepts JPG and PNG but says nothing about HEIC until the upload silently fails. None of this means the photo is bad. It usually means the receiving system is less modern than the phone that created the image.
That mismatch is what makes the issue annoying. On your device, the picture opens fine and looks normal. On the website, it becomes a support problem. When that happens, the fix is usually straightforward, but only if you stop treating everything as a generic 'large image' problem. Very often the first issue is simply format compatibility.
- If the upload fails instantly, suspect format support first.
- If it uploads but looks wrong, check dimensions and compression next.
- Do not assume the site will tell you clearly that HEIC is unsupported.
Convert once, and pick the output format on purpose
For most phone photos headed into a form, JPG is the practical default. It is widely accepted, smaller than PNG for normal camera images, and good enough for profile photos, receipts, room photos, and general attachments. PNG makes more sense when the image is more like a screenshot, a diagram, or something with hard edges and text that should stay crisp.
What causes trouble is converting the same photo over and over. Repeated exports create confusion and unnecessary quality loss. Convert once, check the result, and move on to the next real issue. If the converted file still fails, now you know the problem is probably size, dimensions, or the upload form itself.
- Use JPG for most iPhone camera photos headed into forms.
- Use PNG when screenshot-like sharpness matters more than size.
- Avoid repeated re-exports from one converted copy to another.
Huge dimensions are often the real reason the upload feels broken
People naturally look at megabytes first, but dimensions matter just as much. A modern phone photo can be far larger than the form actually needs. A support portal that shows a tiny thumbnail may still receive a 4032 by 3024 image unless you scale it down yourself. Even if the form technically accepts the file, the upload can be slow, preview generation can stall, and downstream processing can behave badly.
This is why resizing before compression usually works better. If the destination only needs a clean image at 1200 or 1600 pixels wide, cutting the dimensions first gives you a saner file to work with. Compression then becomes a finishing step instead of a desperate attempt to force a giant original through a small upload limit.
- Resize based on the destination, not on what the phone captured.
- A smaller pixel size often helps more than aggressive JPG quality loss.
- Keep text readable if the image contains forms, receipts, or labels.
Cropping is not cosmetic when the image is going into a workflow
A lot of upload images contain wasted space: a desk around a receipt, a wall around an ID card, browser chrome around a screenshot, or empty margins around a signed page. That extra area is not harmless. It makes the actual subject smaller, harder to read, and more likely to blur when you compress the file later.
Cropping first is especially useful for administrative uploads. If the point of the image is the document, crop to the document. If the point is the damaged package corner, crop to the damage. This sounds obvious, but it is one of the easiest ways to make an upload both smaller and clearer without any fancy processing.
- Crop to the thing the reviewer needs to inspect.
- Remove background space before you worry about quality sliders.
- Do not crop so tightly that you cut off document edges or context.
Keep one source copy and one upload copy
When an image matters, the safest habit is to keep the original HEIC file untouched and make a separate upload copy for the website. That sounds like extra caution, but it saves time later. If the portal asks for a different format, a smaller size, or a tighter crop, you can start again from the original instead of from a compressed version that has already lost detail.
This also makes the workflow less stressful. You are not trying to preserve the perfect master while making last-minute edits for a random form. The original stays intact. The upload copy is disposable and optimized for the system in front of you.
- Keep the original HEIC file in case the upload rules change.
- Name the converted copy so you know it is the upload version.
- Do not overwrite the only high-quality original with a compressed export.
Background notes
Why JPG usually wins for upload forms
For ordinary photographs, JPG is usually the sweet spot between compatibility and size. Most upload systems expect it, and most reviewers do not need lossless image data to approve a claim, read a receipt, or verify a product photo.
That does not make PNG wrong. It just means PNG is often solving a different problem than the one a phone-photo upload form has.
Small file size is not the only definition of a good upload
A file that passes the size limit but becomes unreadable is not a successful result. The real target is an image that uploads reliably and still lets the other person see what matters.
That is why a clean crop and sensible resize often matter more than pushing compression to the edge.